

Phone Apps - Free Download & Official Reviews

Download PayByPhone
 4.5
4.5
Steps for Android Devices:Android phones or tablets:1. Navigate to the Play Store app on an Android based phone or tablet device that you are using.2. In the search bar, enter PayByPhone. Even more conveniently, visit the downloading page from here directly https://play.google.com/store/apps/details?id=com.paybyphone&hl=en_US.3. Click the app and click “Install.”4. Let it install and open completely.Steps for iOS Devices (iPhone/iPad):1. Open the Apple App Store using your device.2. In the search field, type “PayByPhone Parking.” More straightforwardly, navigate the same result from here https://apps.apple.com/us/app/paybyphone-parking/id448474183.3. Tap “Get” and authenticate if required.4. Allow it to download and install, then launch the application.Steps for PC/Mac Users:1. Open your web browser and go to www.paybyphone.com.2. In the top-right corner, select either “Sign Up” or “Log In.”3. Continue through the prompts to either sign up or recover your stored credentials.4. Bookmark this page for future quick access.You will be asked to make an account afterward with your e-mail address, mobile number, and vehicle information.

Pay and Extend Parking
4.5
Steps to Pay for Parking:1. Access PayByPhone application or log into www.paybyphone.com.2. To begin, enter your User ID and Password for the sign in if you have an account otherwise you can create a new account.3. Type in the parking location number4. Specify the duration of your parking session.5. Confirm the payment amount and select your preferred payment method.6. Tap “Confirm Payment.” You’ll receive a confirmation notification.Steps to Extend Parking Time:1. Open PayByPhone app.2. Navigate to the “Active Parking Session” tab.3. Tap “Extend Time.”4. Select the additional time required and confirm the new payment.5. Receive an updated confirmation for the extended session.

Ensure Security During Using PayByPhone
4.5
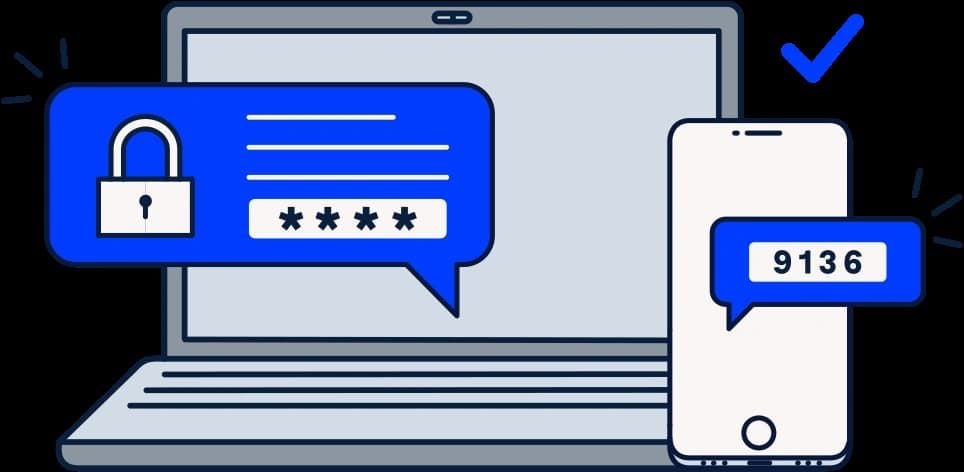
Steps to Safeguard Your PayByPhone Account1. Ensure that password is unique and that it has both letters, numbers and symbols.2. Should allow for two factor security for example using a pin and a fingerprint.3. Avoid using public Wi-Fi when accessing the app.4. Periodically check your account activity to detect any suspicious behavior.Additional Safety Tips:1. Keep your app updated for security updates.2. Employ trusted antivirus on your device.3. Always log out from the application after every session, especially when you use shared devices.4. If you suspect unauthorized access, contact PayByPhone support with immediate effect.

Delete PayByPhone Account
4.5
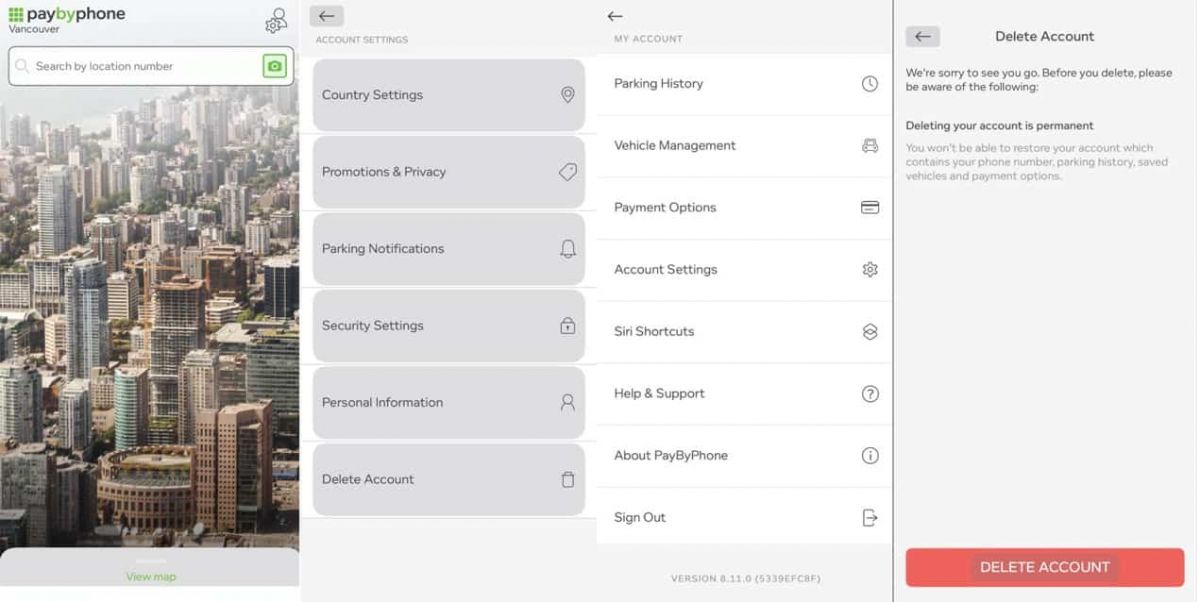
For Android Users:1. Open PayByPhone application.2. In the Menu section, tap Settings and then Account Settings.3. Tap “Delete Account” and confirm the action using the red button provided.For iOS Users:1. Open the application.2. In the Menu section, tap Settings and then Account Settings.3. Tap “Delete Account” and confirm your choice.Via Web Browser:1. Access your account through paybyphone.com.2. Go to Account Settings.3. Go down to “Delete Account” and agree on the deletion of the account as required.Deletion works to avoid create a situation whereby all your information linked to the account is stored on their server.

Update PayByPhone
4.5
For Android Users:1. Open the Google Play Store.2. Tap your profile icon then go to “Manage apps & device.”3. Scroll down to see “PayByPhone Parking” then tap “Update if available.For iOS Users:1. Open the App Store and tap your profile icon.2. Scroll to the “Available Updates” section.3. Locate PayByPhone and tap “Update if listedWeb Users on PC/Mac:Automatic updates happen in the web portal. Refresh your browser every now and then to ensure recent features are loaded.

Install ChatGPT with No Efforts
4.8
You can install it on your preferred device in just a few easy steps and tap into using this high-powered AI in putting work into anything from the following:ChatGPT Mobile1. For Android users:- Open the Google Play Store.- Type “ChatGPT” into the search bar and search.- Find the official app and click “Install.” Or you can directly visit this page from herehttps://play.google.com/store/apps/details?id=com.openai.chatgpt&hl=en_US.2. For iOS users:- Open the App Store.- Type “ChatGPT” into the search bar and search.- Find the official app, click “Get,” and install it. Even more directly, this step can be led to you from here https://apps.apple.com/us/app/chatgpt/id6448311069.ChatGPT PC- Visit the OpenAI official website here https://openai.com.- Locate the link to ChatGPT on the homepage and click to enter.- Register or log in to your OpenAI account.- Use the web version directly in your browser without needing to download any software.
Streamline Your Discord Ecosystem
4.7
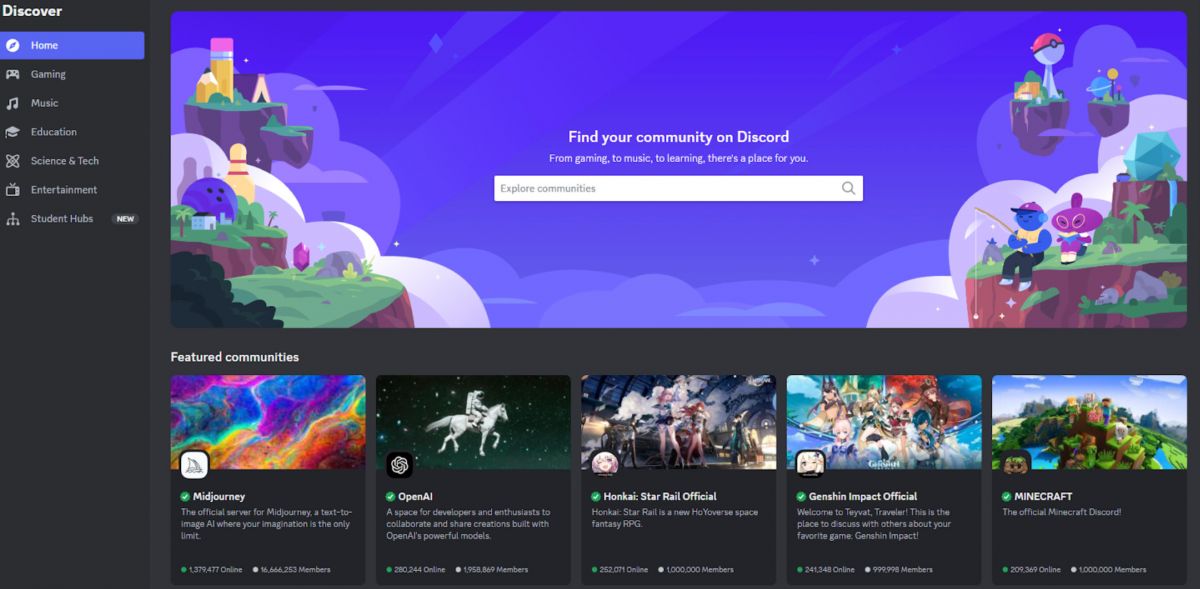
For busy channels where chats can explode, slowmode is your friend. Toss on a 5–10 second delay between messages so you aren’t drowning in spam. Announcement channels? Disable regular posting and only let staff or bots speak so info doesn’t get lost.Integrations and Webhooks enable real-world productivity. Integrate Discord with other apps such as GitHub, Trello, Twitch or even YouTube, which allows activity updates to be posted automatically into predetermined channels. You'll receive notifications on your Discord when a developer sends you a pull request, streams are automatically notifed when it goes live, and you'll know what's going on with your project tasks stream.Not enough people use scheduled events, and that's a shame. You can plan voice hangouts, stage talks, or outside stuff. People can RSVP ahead of time, which pumps up excitement and guarantees a bigger crowd.

Protect Your Search Privacy
4.1
Managing Search History and Activity1. Launch Google2. Tap your profile picture in the top-right3. Click “Manage your Google Account”4. Go to the “Data & Privacy” page5. In the “History settings,” select “Web & App Activity”6. Turn off “Web & App Activity” so Google does not record your searches7. Or choose “Auto-delete” to delete activity older than some chosen timeframePrivate Searches with Incognito Mode1. Launch Google on your smartphone2. Tap your profile picture at the top right3. Choose “Turn on Incognito Mode”4. In Google Chrome browser, tap on three-dot menu and select “New Incognito Window”5. Conduct your searches without storing history in your account6. Close the tab or window in Incognito mode once completed7. Keep in mind that while Incognito blocks local history storage, your ISP knows what you are doing